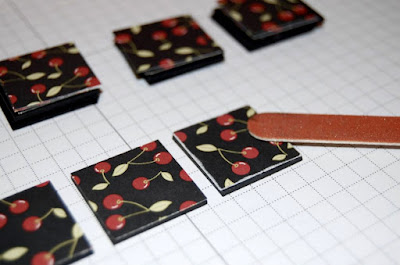
tHe iNcHie*


Stamp Teeny Tiny Wishes
Paper White, Riding Hood Red, Rockabilly
Ink Riding Hood Red
Et cetera word window punch, brads, square chipboard pieces, 1" square punch, top-note die
Sprinkles and tWiNkLes* to the iNcHie!
..Materiality..


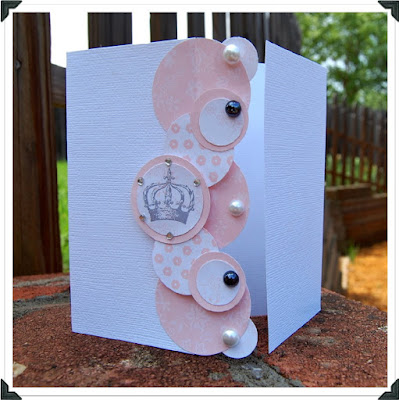
Next, gather up your supplies. Fold a 5-1/2" x 8-1/2" sheet of [white] paper in half to form the card base. For the front panel, use the top-note die.

Layout your card base. Make sure it opens where you want it to open.

Attach your top-note panel.

Attach your inchies and any other desired embellishments. Here I used my inchies along with the word window punch, the {friend to friend} sentiment and a small brad to finish off the card front. Get that assembly line rolling!

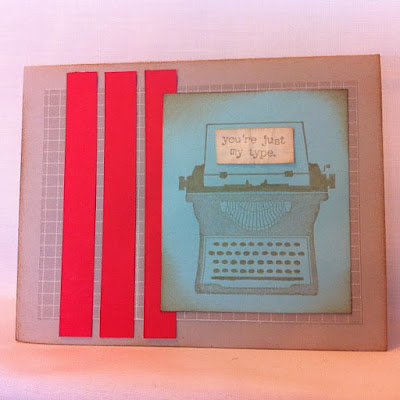
The result is a lovely card that can be used alone or as part of a stationary set that might also include The Swirl and The Stripper.


Really cute! Love the cherries...so very Mary Englebreit! Love the 'stripper' too. Very good ideas!
ReplyDeleteI'm trying a new card, at least new to me.....the Joy Fold Card: http://www.splitcoaststampers.com/resources/tutorials/joy_fold_card/
Putting a little twist on it by making it a gift card holder too. Hopefully will get it posted later tonight.