Plane Awesome*
November 2024 | |
No. 1 Plane Awesome card | |
https://stampyandscrappy.blogspot.com Finished card is A2, 4-1/4 x 5-1/2 November Project Share* (っ◔◡◔)っ ✦ Live the life of your dreams~ ✦ Set your sights on new adventure! Sketched planes create a fun centerpiece on your cards. Don’t forget to add unique texture and interest with the welded metal stamp image and clouds. Great for the aviation-loving or thrill-seeking friend or family member in your life. Enjoy this project share, -Lisa (✿◠‿◠)  Stamp: BUNDLE Adventurous Sky includes Adventurous Sky stamp set, and Adventurous Sky dies 163447 Paper: [card stock] Basic Beige, White, Navy Et cetera: Nested Essential dies 161597 Surplus: embellishments, your choice   Measurements and directions Finished card is 4-1/4 x 5-1/2
Card blank, Basic Beige 8-1/2 x 5-1/2 Background mat, Navy 3-7/8 x 5-1/8 Stamped layer, white 3-3/4 x 5 Airplane die cut and sentiment die cut, white
✧ Create card blank by scoring your 8-1/2 x 5-1/2 card stock in half at 4-1/4 and folding on the left side.
✧ Background mat with navy card stock 3-7/8 x 5-1/8
✧ Layer with a 3-3/4 x 5 stamped white card stock. Using Memento ink, stamp four airplanes, each over the edge so that only partial stamping is left on the panel. Images should be somewhat evenly distributed across the panel. Stamp welded metal image randomly and sparsely over the airplanes. Use a stamping off technique to give the welded metal a faded or distressed look. If desired, use the largest diamond shape die from Nested Essentials to cut through the center of this layer. Attach both the positive and negative cut-outs as a single layer on the background mat.
✧ Airplane x 2 Stamp and die cut one biplane. Add color with watercolor pencils or watercolor paint with Navy ink and water swirled on your craft mat (make sure the Memento black ink is completely dry before adding color). Keep the Navy color very light, as a highlight rather than full color. Die cut an additional biplane from plain white cardstock. Layer the two with foam dimensionals in between. Adhere to your card front.
✧ Sentiment Die cut the smallest pennant. Stamp with sentiment. Adhere to your card front.
✧ Finishing touches: Don’t forget to attach the propeller to the plane and add embellishments 💎
✧ Inside writing panel, white card stock: 4 x 5-1/4
Stack layers bottom to top: –Beige card blank– –Navy mat– –Stamped layer including die cut center– –Airplane, sentiment, and embellishment–
Masculine cards need a first class ticket to awesomeness, your card is now ready for adventure!
Twinkle Tip✧ Embrace simplicity~ Color pencils or light water coloring are all you need to make sketched images mesmerizing    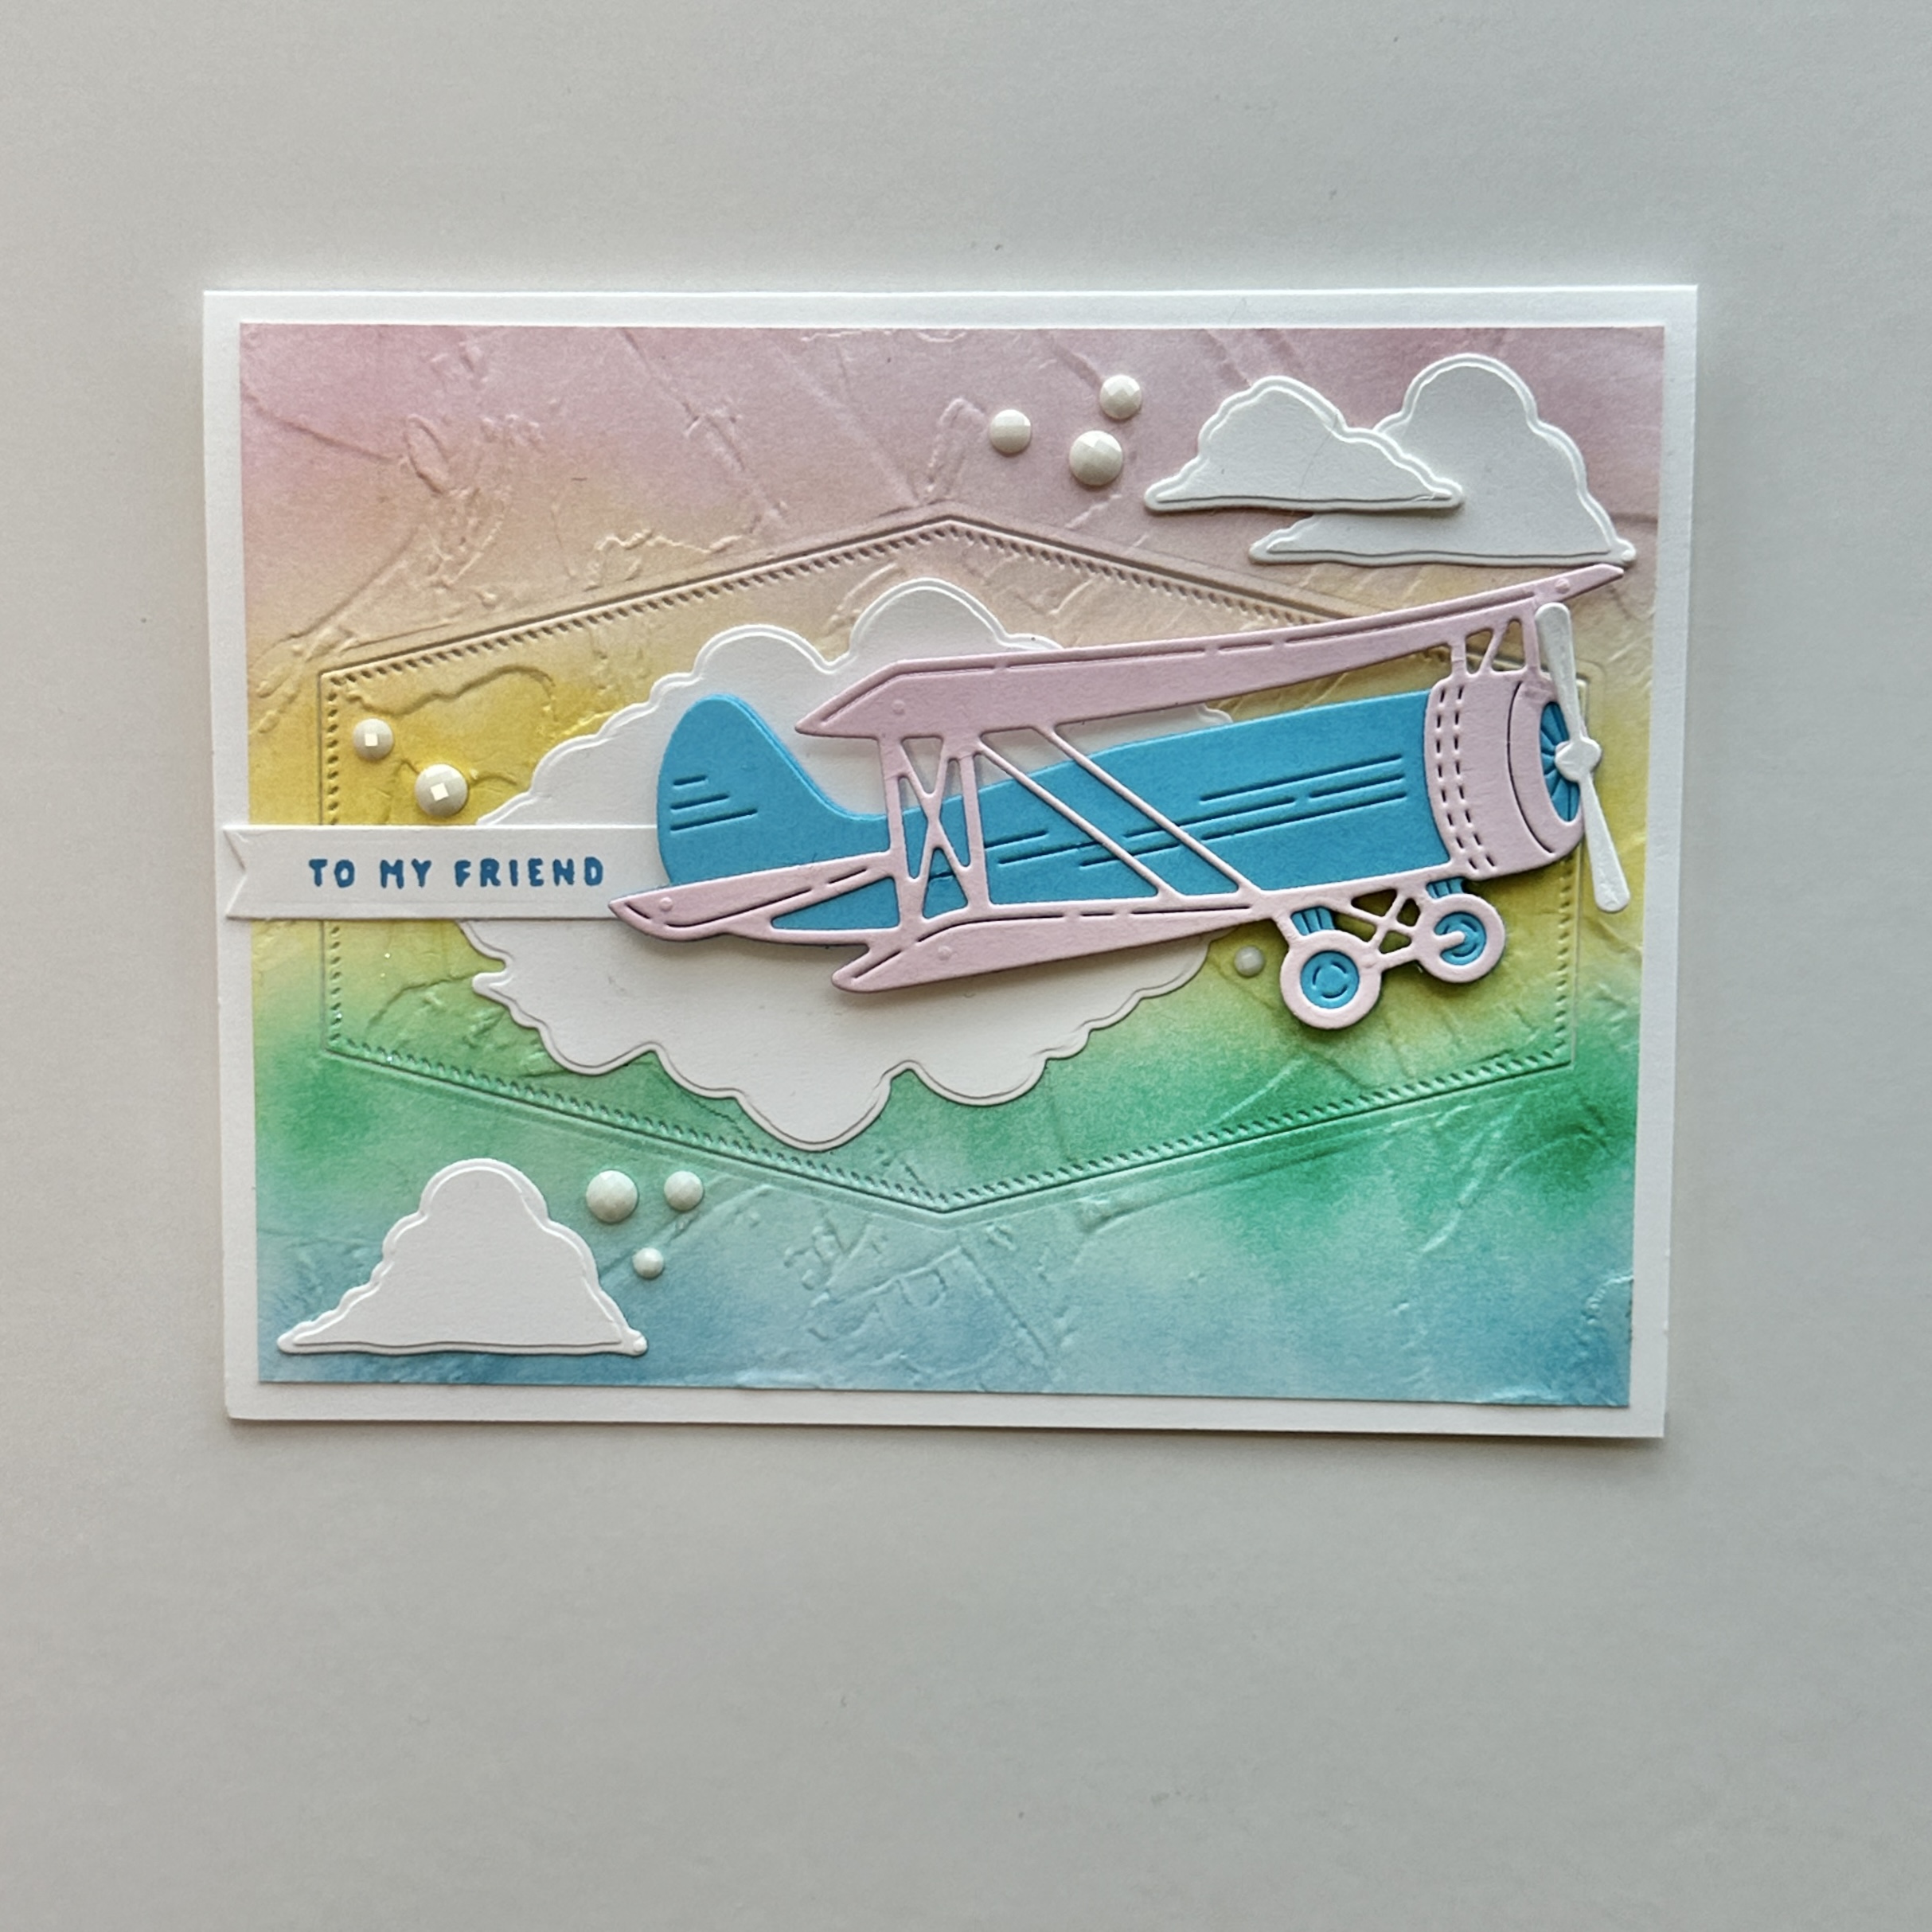   ℂ𝕣𝕖𝕒𝕥𝕖 𝕥𝕙𝕖𝕤𝕖 𝕡𝕣𝕠𝕛𝕖𝕔𝕥 𝕤𝕙𝕒𝕣𝕖𝕤 𝕨𝕚𝕥𝕙 𝕪𝕠𝕦𝕣 𝕗𝕒𝕧𝕠𝕣𝕚𝕥𝕖 𝕤𝕥𝕒𝕞𝕡𝕤, 𝕕𝕚𝕖𝕤, 𝕒𝕟𝕕 𝕡𝕒𝕡𝕖𝕣𝕤. I feature Stampin’ Up! products in my crafting and creating. Should you need a specific item, links to my online store and select items are provided below. Products are current at time of posting. For similar or additional supplies please visit lisasalkeld.stampinup.net >𝕤𝕙𝕠𝕡 𝕟𝕠𝕨
BUNDLE Adventurous Sky https://www.stampinup.com/products/adventurous-sky-bundle-english?dbwsdemoid=2048063
DIES Nested Essentials https://www.stampinup.com/products/nested-essentials-dies?dbwsdemoid=2048063  𝐿𝒾𝓈𝒶 ⎹ Maker + Papercrafter Specializing in handmade greeting cards Join me for step-by-step instruction through all the creative folds, techniques, and tutorials Stampin’ Up! Demonstrator 15 years ⎹ $100,000 SALES ACHIEVER Lifetime Crafter
𝐵𝓁❀𝑔: https://stampyandscrappy.blogspot.com Shop 24▸7: https://lisasalkeld.stampinup.net Oklahoma Stamp Club: https://www.facebook.com/okstampclub Email: lisasalkeld@gmail.com   𝚌𝚛𝚎𝚊𝚝𝚎 𝚝𝚘𝚍𝚊𝚢 (っ◔◡◔)っ✨  | |


Comments
Post a Comment
It's awesome you're here. Thank you for visiting Stampy and Scrappy! (✿◠‿◠)❤